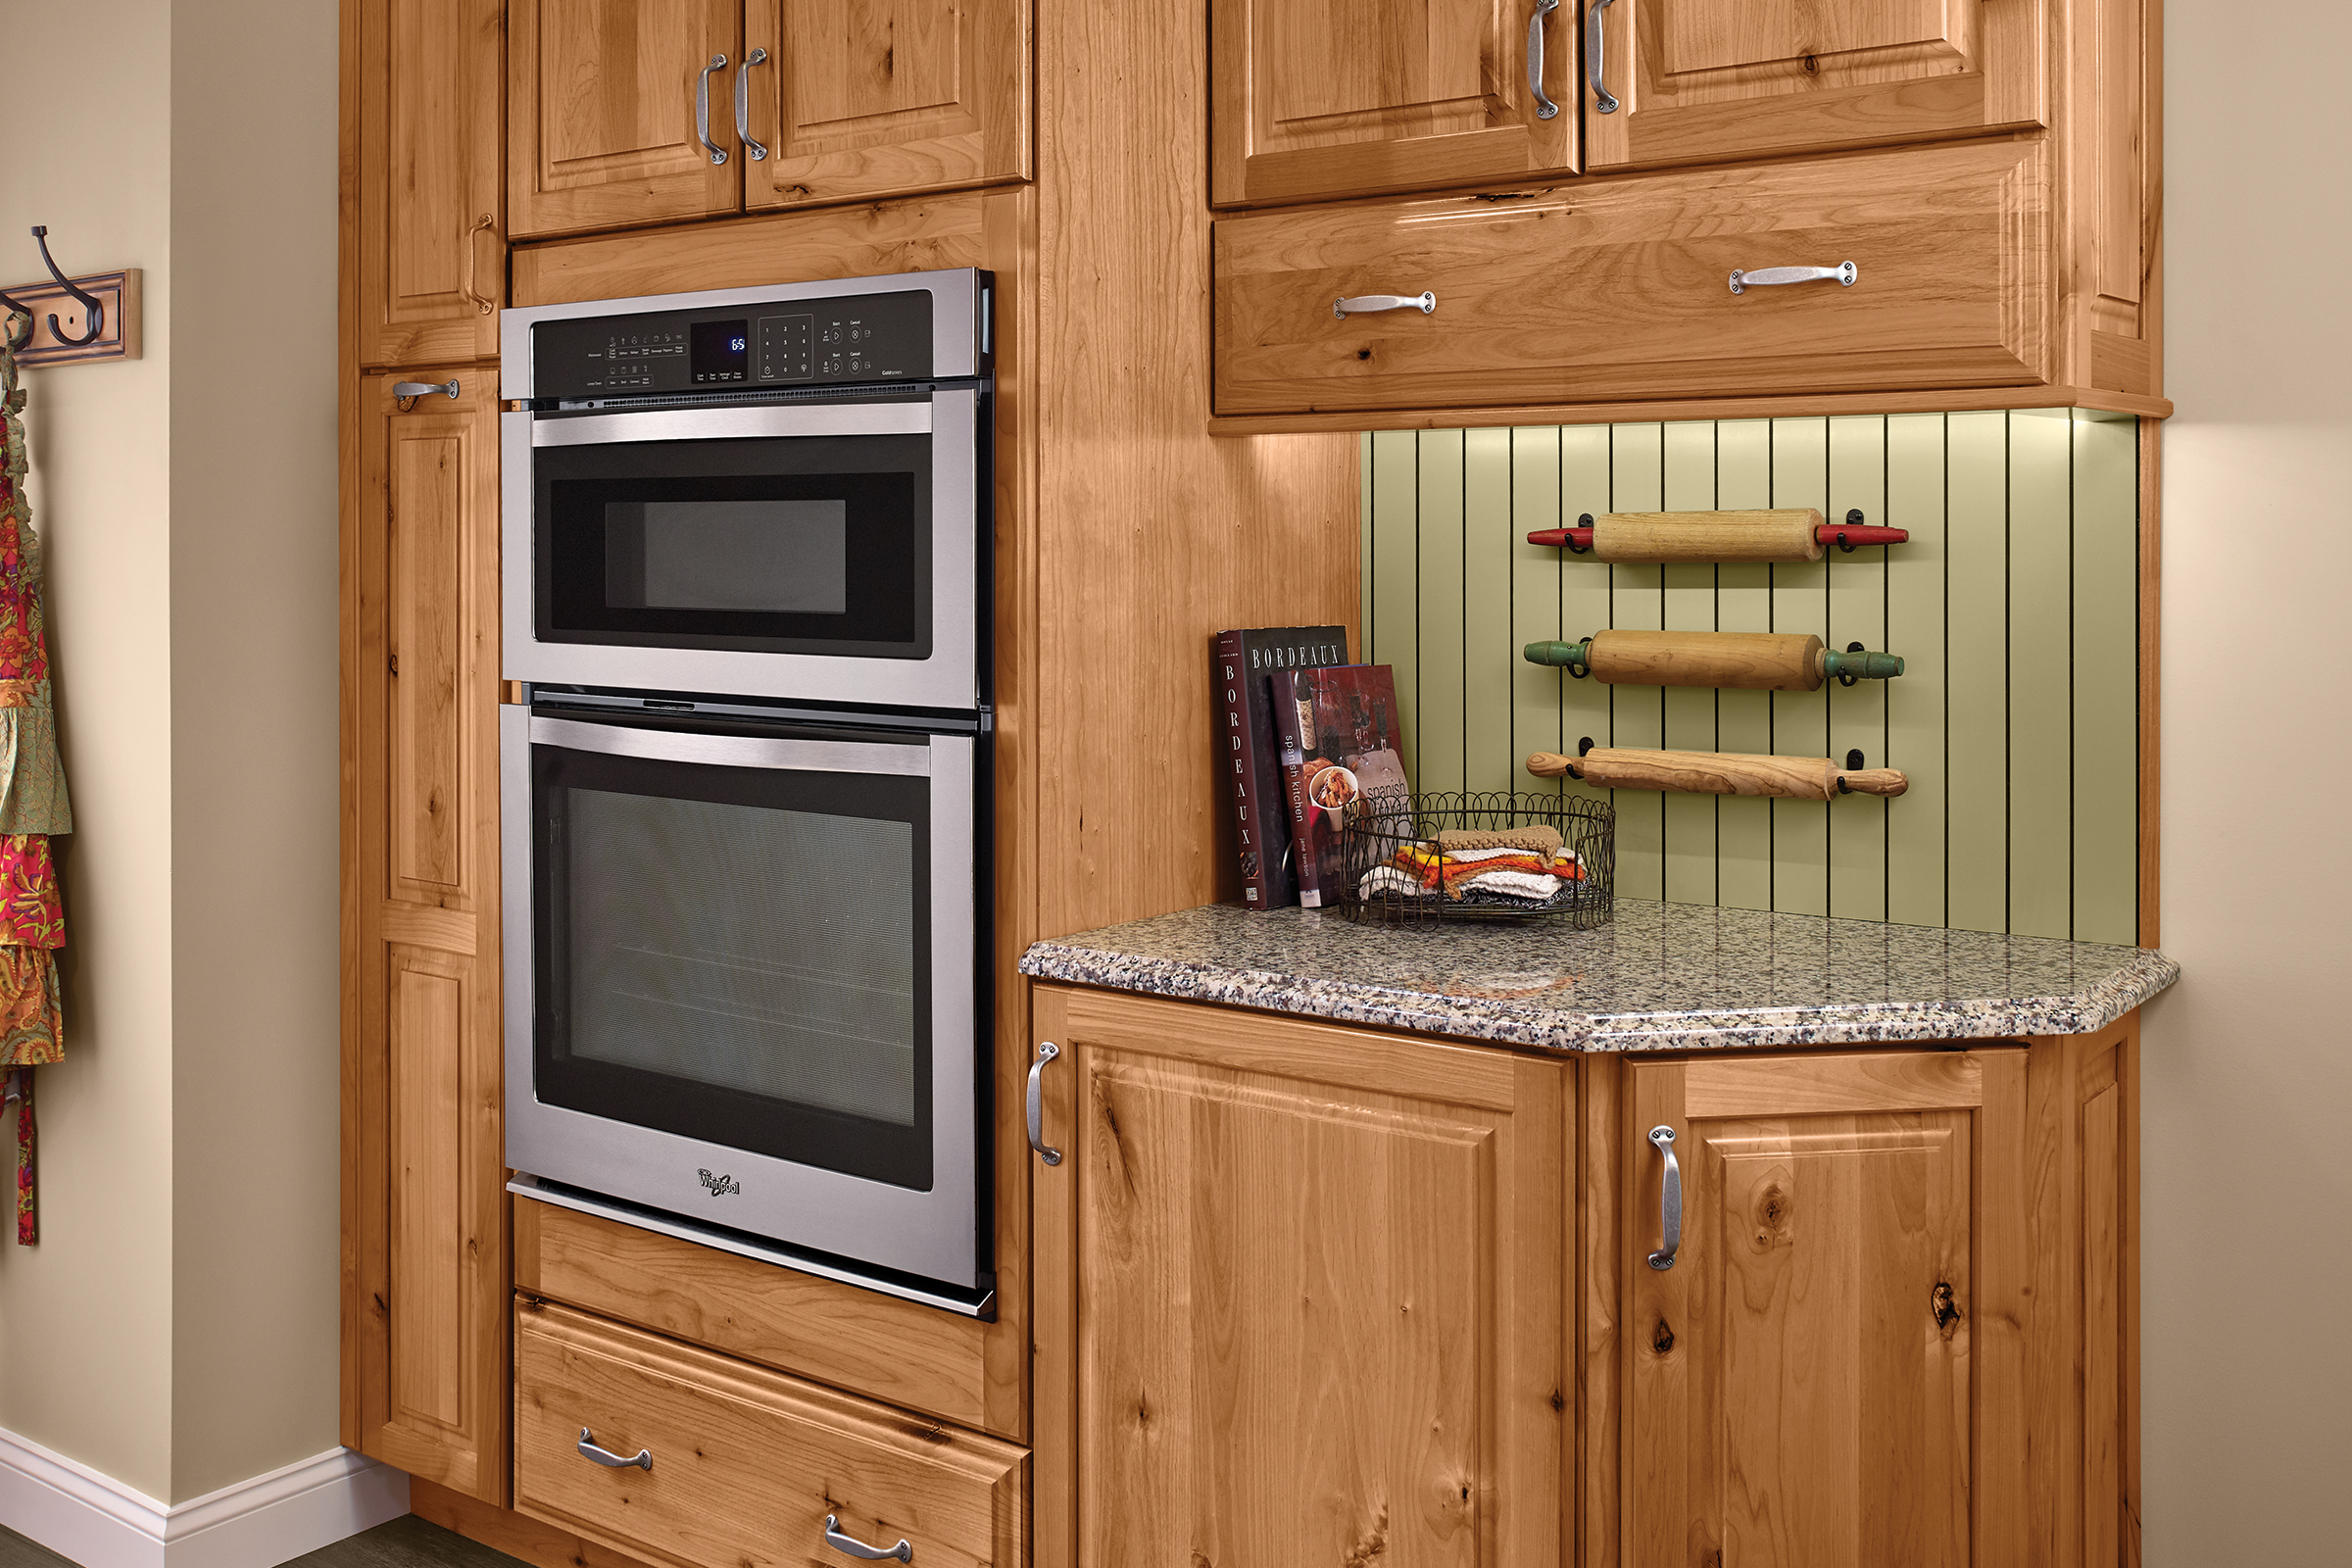
In today’s modern kitchens, functionality and aesthetics go hand in hand. Every square inch counts, especially when it comes to storage solutions. One often overlooked yet incredibly useful addition to any kitchen is a microwave wall cabinet. Not only does it free up valuable counter space, but it also adds a touch of sophistication to your kitchen decor. In this guide, we’ll explore how to integrate a microwave wall cabinet seamlessly into your kitchen design, maximizing both space and style.
Microwave wall cabinets come in a variety of styles, sizes, and materials to suit your specific needs and preferences. Before diving into the installation process, it’s essential to choose the right cabinet that complements your kitchen’s design aesthetic. Whether you prefer a sleek modern look or a more traditional feel, there’s a microwave wall cabinet out there to match your style.
When selecting a microwave wall cabinet, consider the dimensions of your microwave and the available wall space. Measure the width, height, and depth of your microwave to ensure a proper fit within the cabinet. Additionally, take into account any other appliances or fixtures that may be nearby to ensure adequate clearance and accessibility.
Once you’ve chosen the perfect microwave wall cabinet for your kitchen, it’s time to prepare for installation. Start by clearing the area where the cabinet will be mounted, removing any existing cabinets or shelving as necessary. Ensure that the wall surface is clean, smooth, and free of any obstructions before proceeding.
Next, carefully mark the desired location for the cabinet on the wall, taking into account the height and depth requirements. Use a level to ensure that the cabinet will be installed evenly and securely. Once the placement is confirmed, mark the locations for the mounting screws or brackets.
Before attaching the cabinet to the wall, it’s essential to locate and mark the position of any wall studs. Mounting the cabinet directly into the studs will provide maximum stability and support. Use a stud finder to locate the studs, then mark their positions on the wall.
With the stud locations marked, it’s time to drill pilot holes for the mounting screws or brackets. Use a drill bit slightly smaller than the diameter of the screws to prevent splitting the wood. Drill the pilot holes at the marked locations, ensuring they align with the studs for optimal strength.
Once the pilot holes are drilled, it’s time to attach the mounting hardware to the wall. Depending on the design of your microwave wall cabinet, this may involve installing brackets, cleats, or other mounting mechanisms. Follow the manufacturer’s instructions carefully to ensure proper installation.
With the mounting hardware in place, it’s time to lift the microwave wall cabinet into position. Enlist the help of a friend or family member to assist with this step, as microwave cabinets can be heavy and cumbersome. Carefully line up the cabinet with the mounting hardware, ensuring it is level and flush against the wall.
Once the cabinet is properly aligned, secure it to the wall using the provided screws or fasteners. Be sure to tighten the screws firmly to ensure a secure attachment. Double-check the alignment and levelness of the cabinet before proceeding.
With the microwave wall cabinet securely installed, it’s time to add the finishing touches. Install any shelves, doors, or other accessories included with the cabinet, making sure they are properly aligned and adjusted. If desired, you can also paint or stain the cabinet to match your kitchen decor.
Finally, carefully mount your microwave inside the cabinet according to the manufacturer’s instructions. Ensure that it is properly ventilated and securely in place before testing it out. Once everything is in order, step back and admire your newly installed microwave wall cabinet, which not only maximizes space but also adds a touch of elegance to your kitchen.